
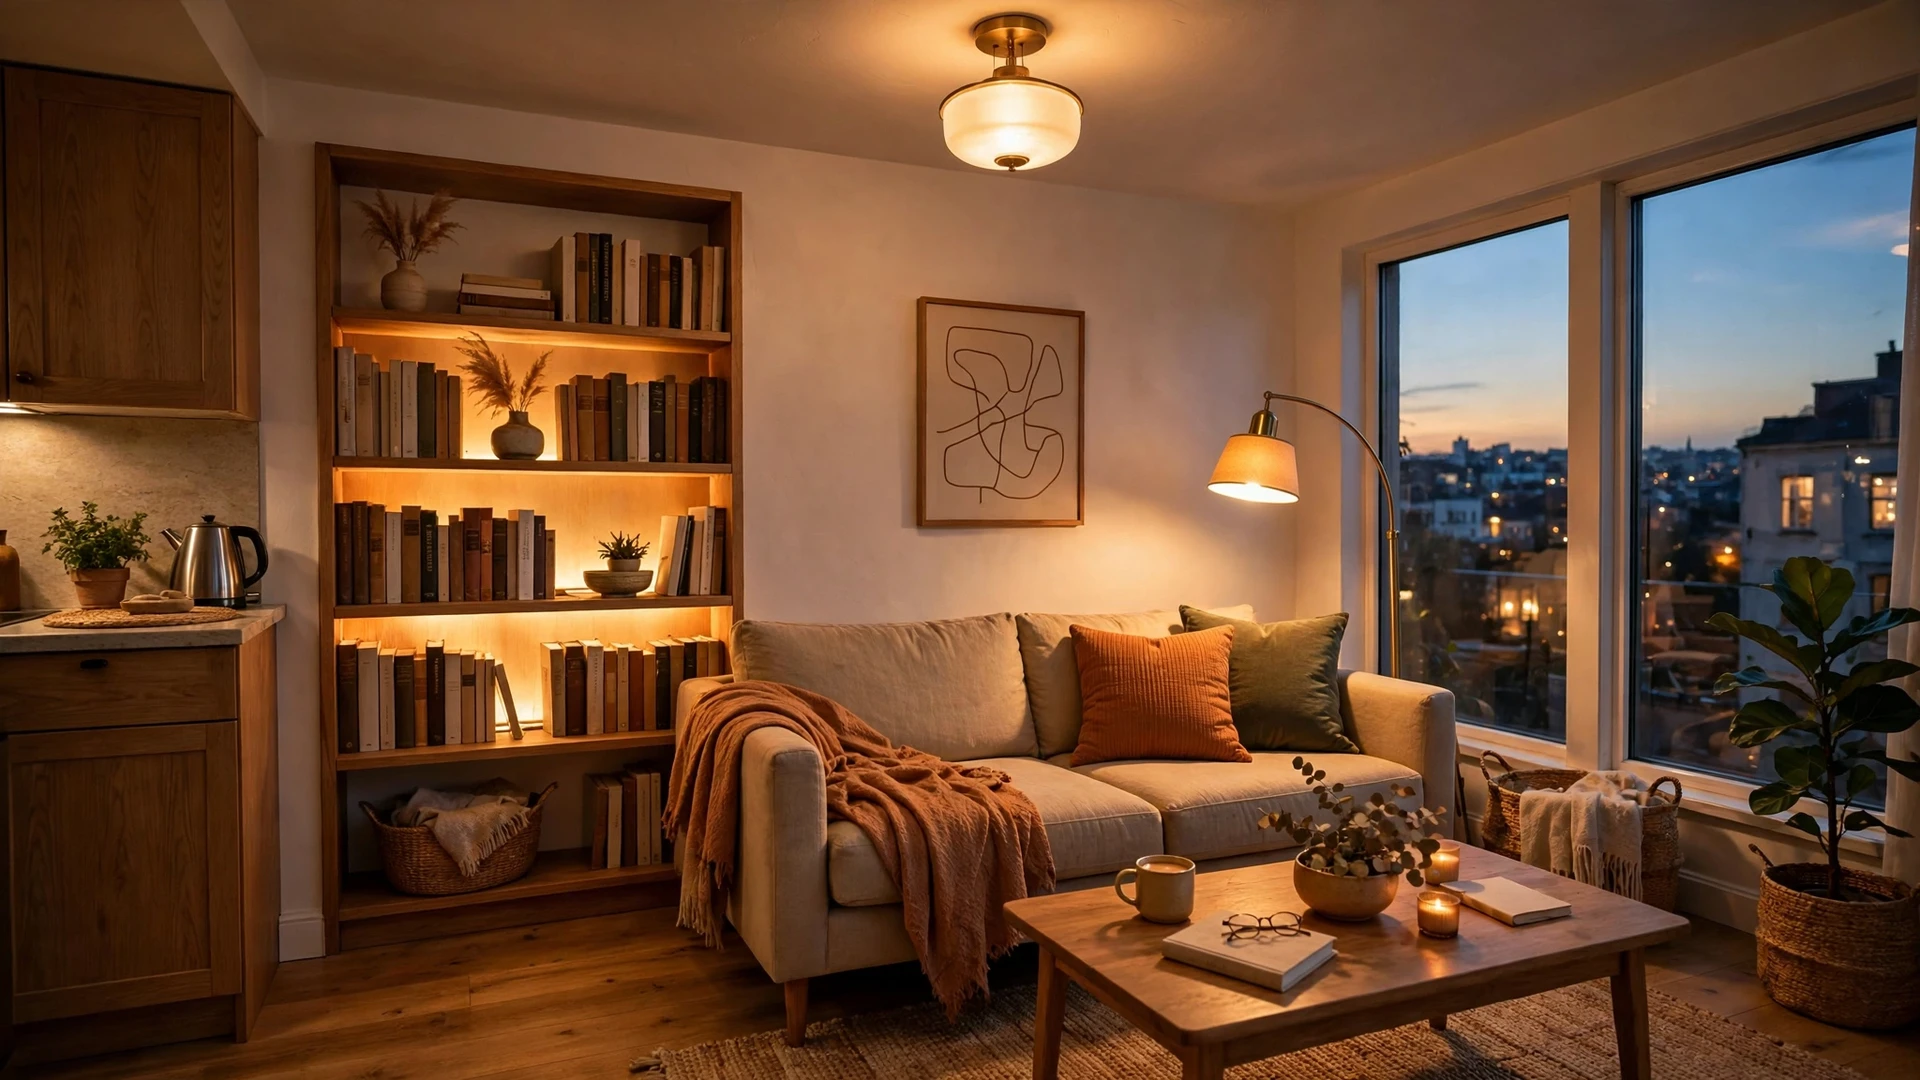
A studio apartment asks one room to be a bedroom, a living room, and a kitchen, and most studios try to light all of that with a single ceiling fixture. The result is a flat, shadowy room that feels smaller than it is. The fix is not a bigger light — it is three layers of light, each doing one job, placed at different heights.
Why One Ceiling Light Is Never Enough in a Studio
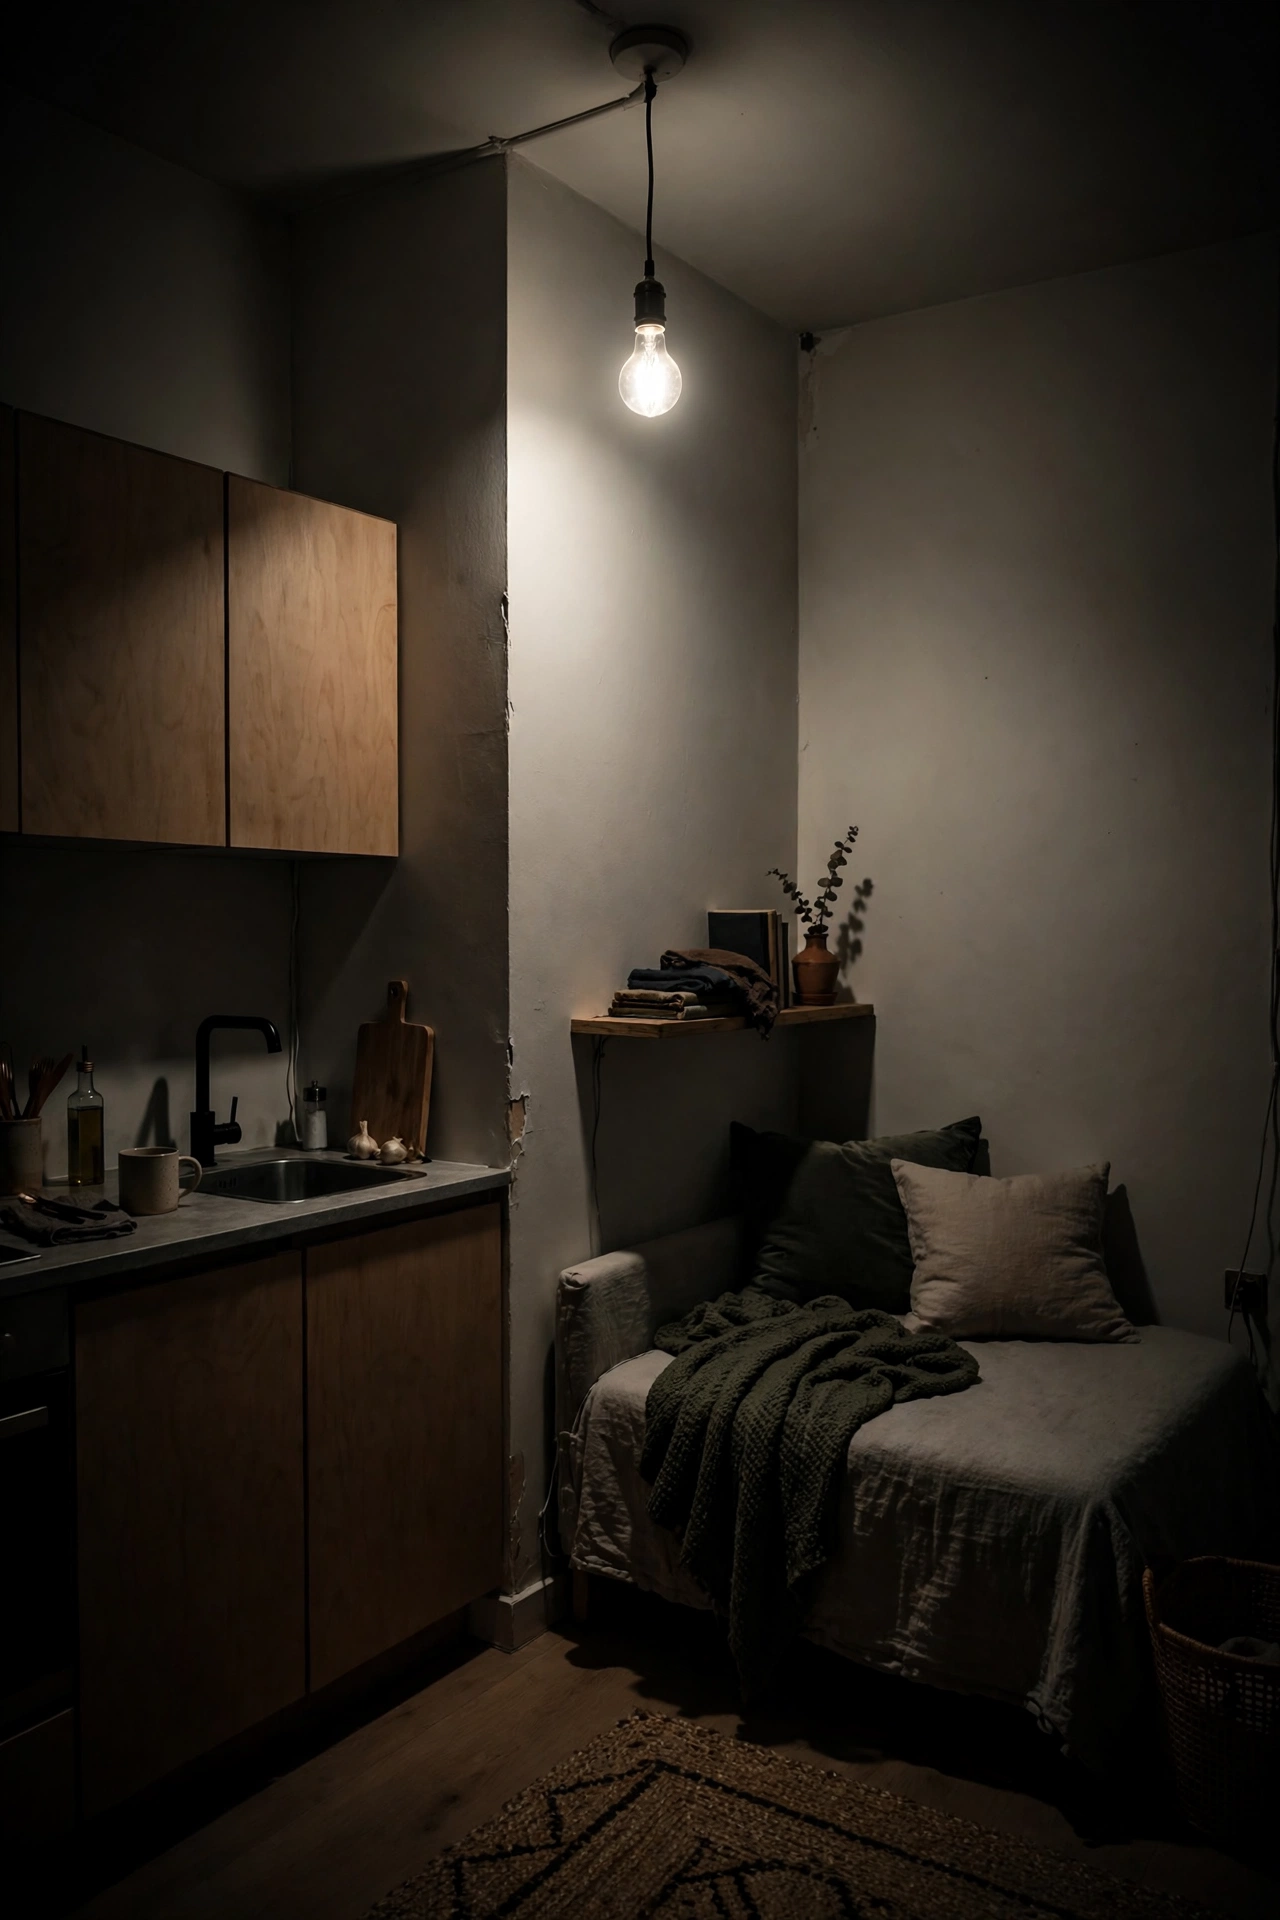
One overhead light fails in a studio for a simple reason: it has to serve three rooms at once, and it serves none of them well. It lights the middle of the floor and leaves the edges dark, it throws your shadow across the desk when you work, and it makes the bed area feel like a stage when you are trying to wind down. Everything gets the same flat, top-down light, so nothing feels separate and nothing feels finished.
The fix is the three-layer rule. Ambient light gives the room its general glow. Task light gives you focused light where you actually do things — the desk, the kitchen counter, the reading chair. Accent light adds depth and makes the room look designed, by lighting shelves, art, and corners. No single fixture can do all three jobs, because each layer needs a different position, brightness, and height.
I recommend five to seven light sources in total: a ceiling fixture, two lamps, one desk light, and one or two accent lights. Spread across a studio, that is one source roughly every two meters. How to Make Your Studio Apartment Look Expensive
Layer 1 — Ambient: Ceiling Fixtures That Suit Low Ceilings
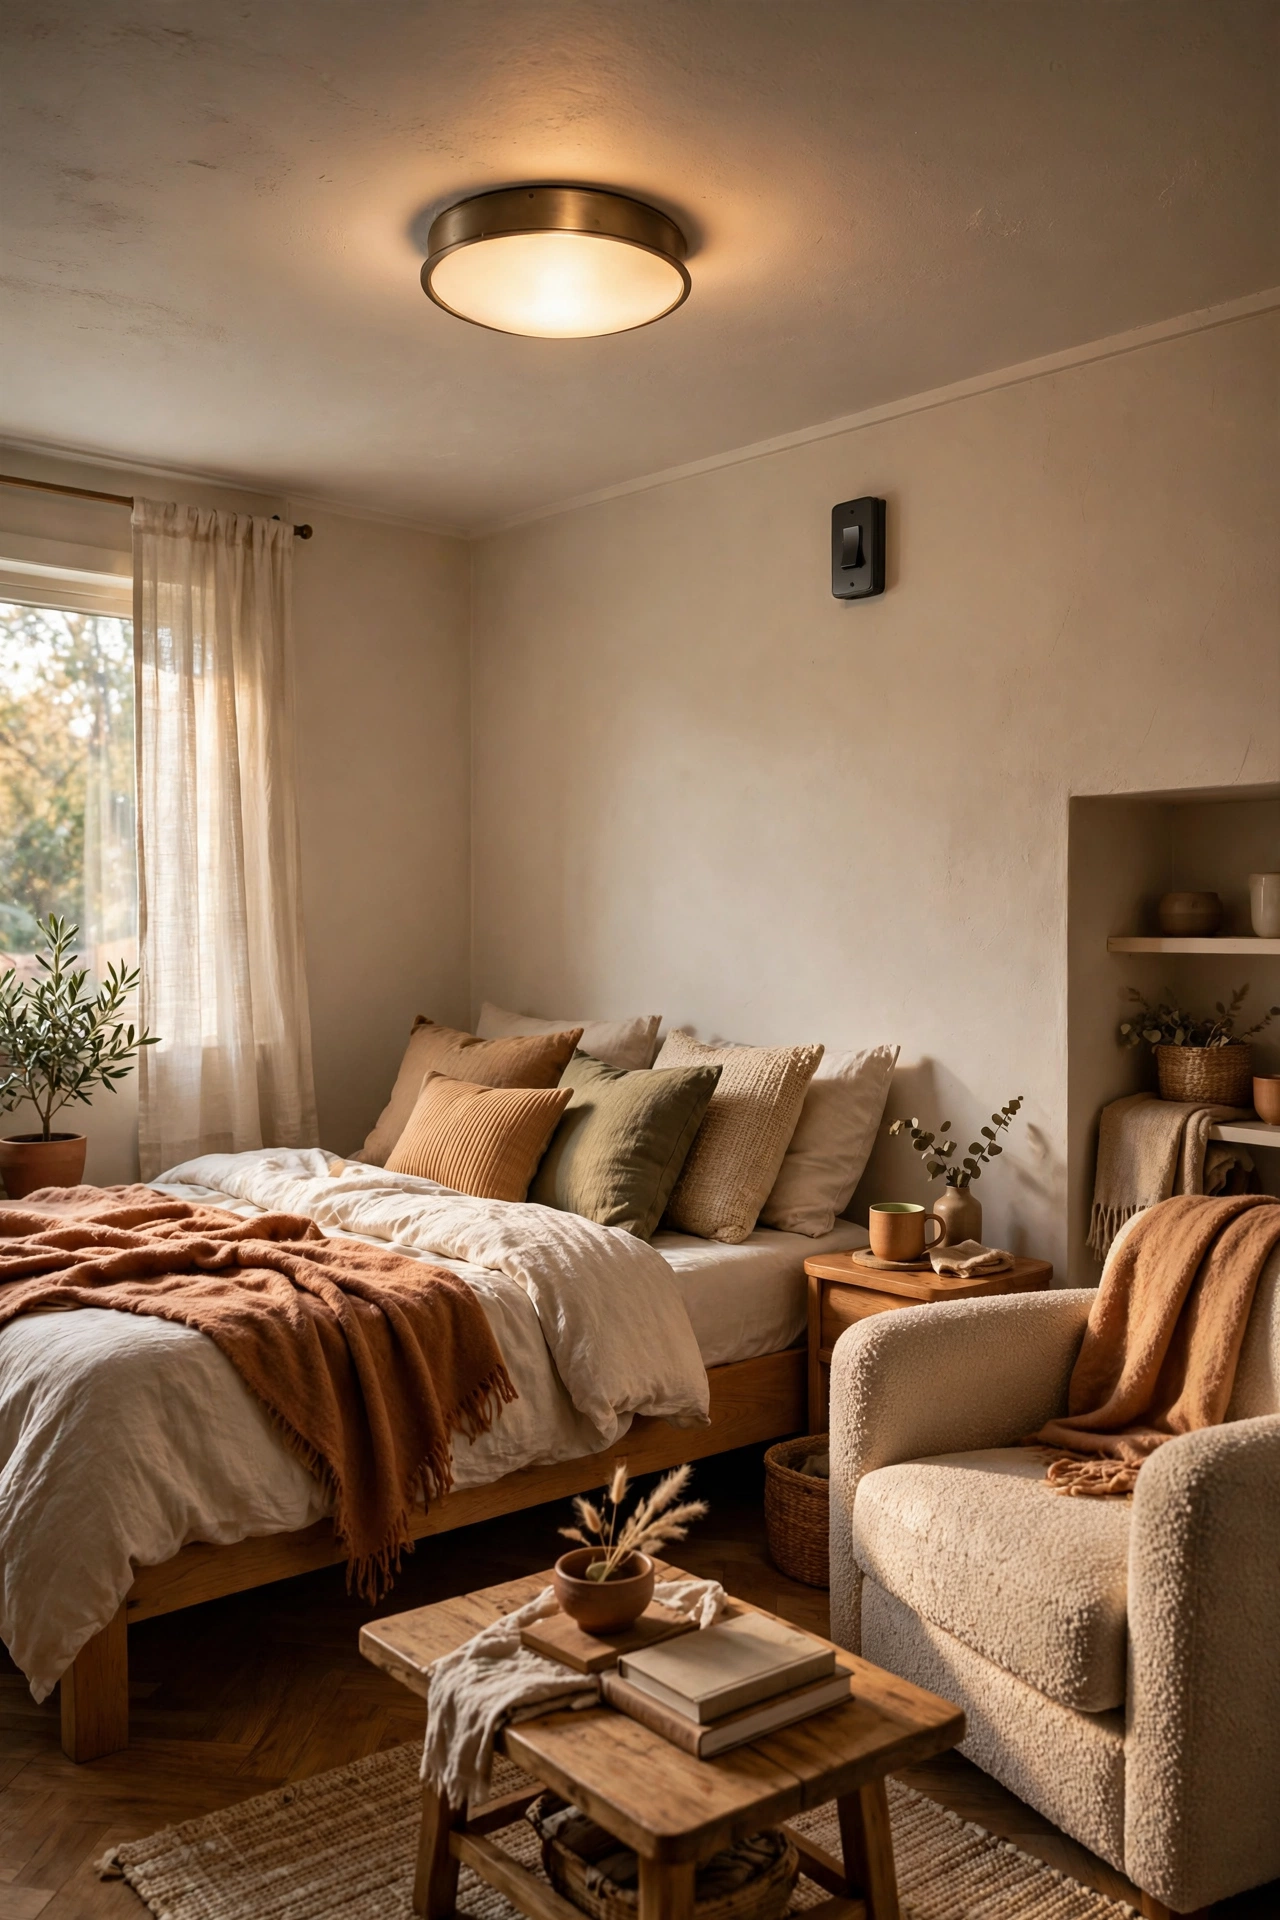
Ambient light is the base layer, and in a studio it usually comes from the ceiling. The right fixture depends on the ceiling height, and most studios have low ceilings, so this choice matters.
For ceilings under 2.4 meters, use a flush-mount fixture that sits flat against the ceiling. Anything that hangs down eats headroom and makes the room feel lower than it is. For ceilings between 2.4 and 2.7 meters, a semi-flush fixture works well — it drops a few centimetres and spreads the light a little further without crowding the room. Avoid pendants and chandeliers in a low studio unless they hang over a table, where nobody walks underneath them, and never let a fixture hang lower than about 2.1 meters above the floor in a walkway.
Size matters too. A fixture around 30 to 40 cm across suits most studios — much bigger dominates a small ceiling, much smaller leaves the corners dark.
The single best upgrade for this layer is a dimmer — ambient light that cannot be dimmed is either too bright in the evening or too dim in the daytime. Keep the ambient light warm, 2700K to 3000K, and consistent with every other bulb in the room.
Layer 2 — Task: Desk, Kitchen and Reading Light
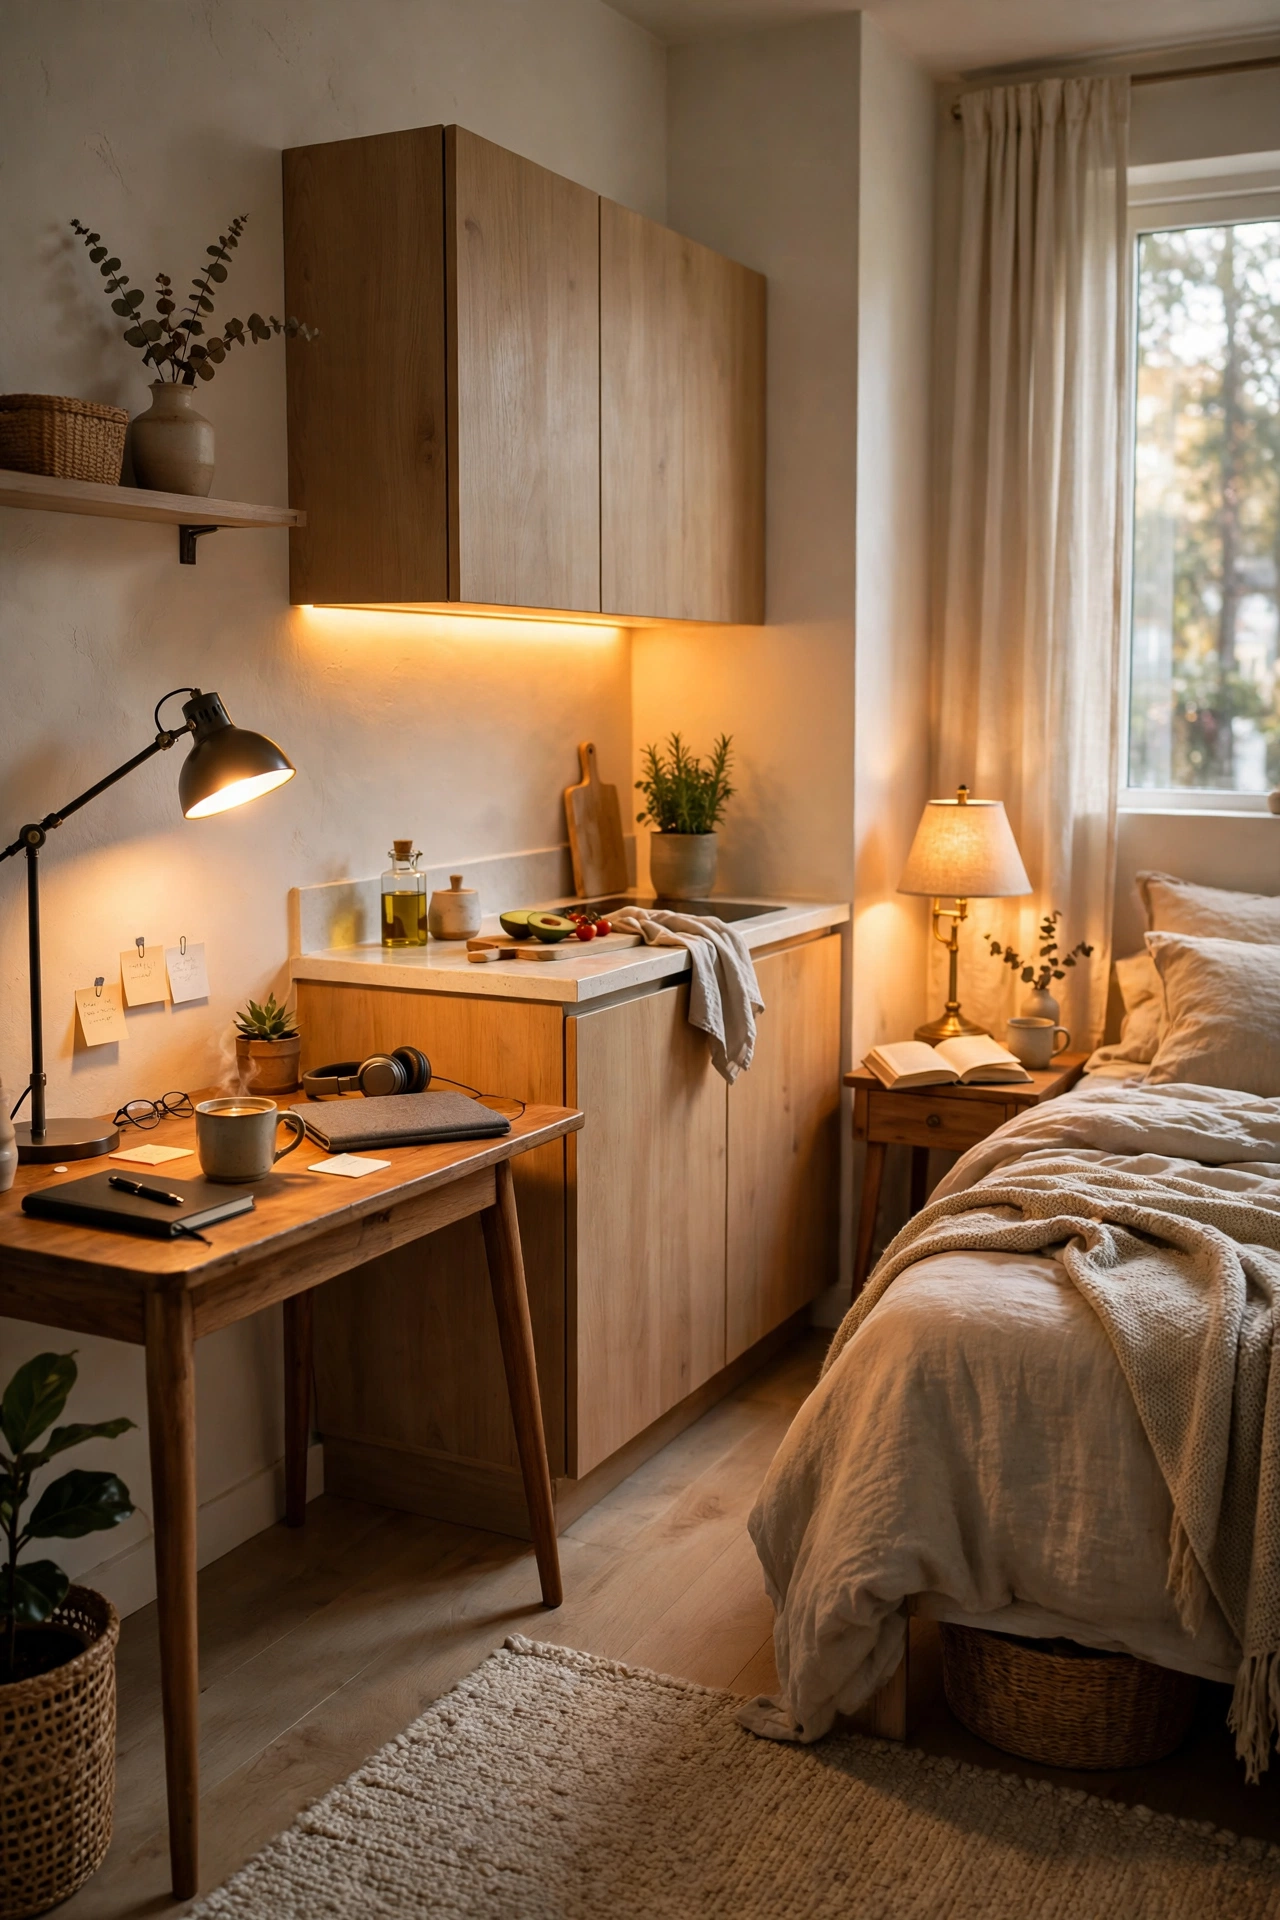
Task light is the layer you actually use, and it needs to be exactly where the work happens. A ceiling light cannot do this job, because your body blocks it the moment you sit down.
At the desk, use an adjustable-arm lamp so you can aim the light at the work surface instead of your eyes. Place it on the opposite side from your writing hand, so your hand does not cast a shadow across the page or keyboard, with the shade roughly at eye level when you are seated. A lamp that is too tall throws light over your shoulder; one that is too short lights only a small circle.
In the kitchen, the problem is the same: the ceiling light sits behind you and your body shadows the counter. The fix is light under the wall cabinets, so the worktop is lit from the front — adhesive or plug-in strips at 2700K to 3000K, one strip per stretch of counter.
For reading, place a lamp beside the bed or the sofa at about shoulder height when seated, with the shade angled so the light falls down onto the page rather than across the room. A warm bulb matters here most of all, since this is the light you sit beside in the evening.
Layer 3 — Accent: Shelves, Art and Corners

Accent light is the layer that makes a room look designed rather than just lit. It does not help you read or cook — its only job is to add depth, so the eye has somewhere interesting to rest.
The easiest accent light is a strip on top of a bookshelf or behind a television, where the glow washes up the wall without the strip itself being visible. A small picture light over one piece of art does the same job on a smaller scale, and a tiny uplight on the floor makes a dark corner feel taller and the room feel bigger.
Keep this layer to two or three accent points in the whole studio — more than that looks cluttered, which is the opposite of what you want in a small room. Use warm white only, and hide the source wherever possible: the glow should be visible, not the strip or the bulb. How to Make Your Studio Apartment Look Aesthetic
Warm vs Cool Bulbs: What 2700K–3000K Does to a Small Room
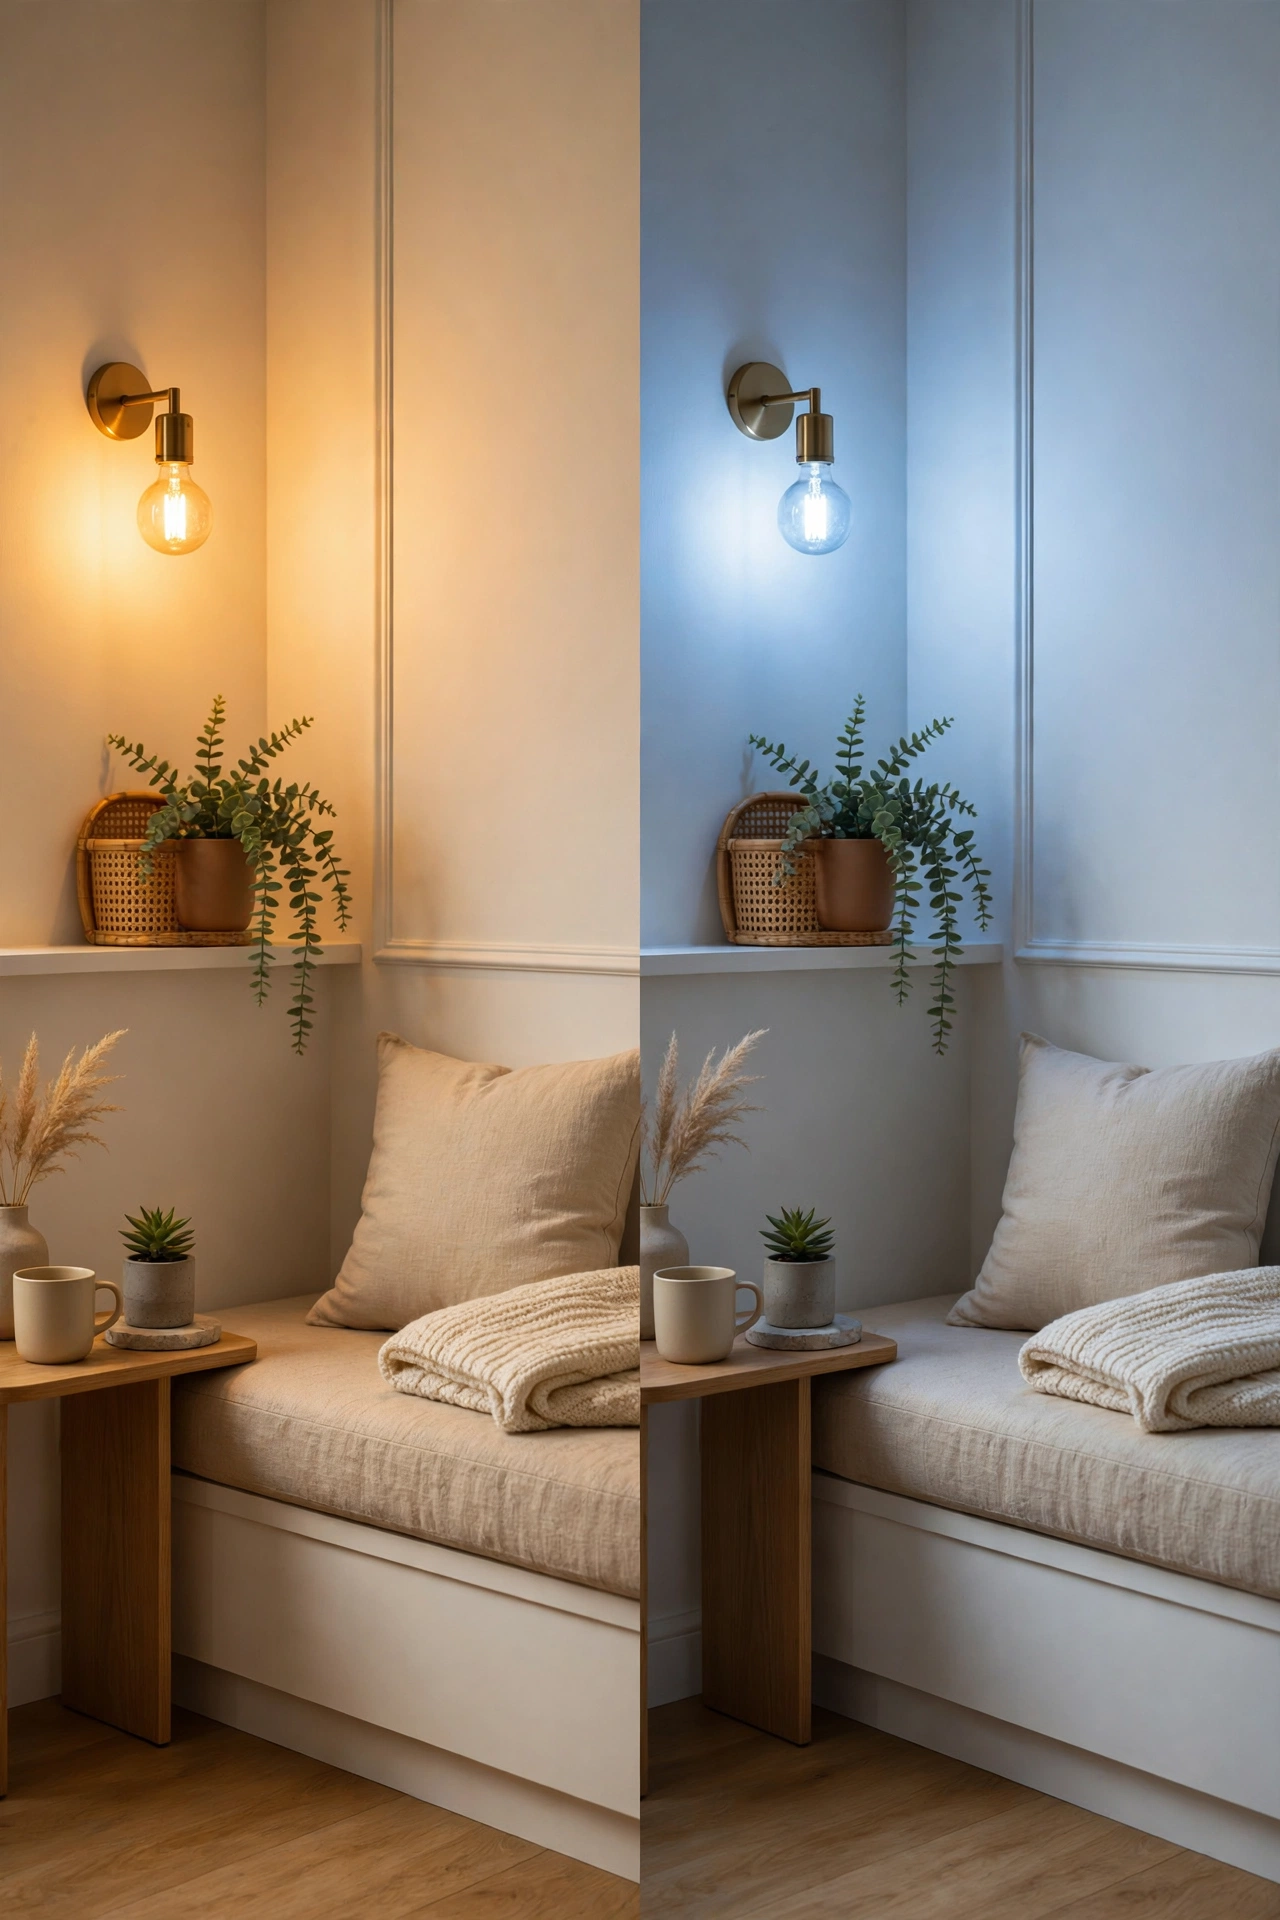
Bulb color is measured in Kelvin: lower numbers are warmer. A candle is around 1800K, a warm household bulb is 2700K, warm white is 3000K, and daylight or office lighting is 4000K and above. Most studios should live between 2700K and 3000K.
Warm light flatters everything a small room contains: skin looks healthier, wood looks richer, fabric colours look deeper. Cool light does the opposite — it flattens warm colours, makes white walls look grey-blue, and gives a small room the feel of an office after hours.
The rule that matters most is consistency: every bulb in the room should sit in the same 2700K to 3000K band. Mixed temperatures are the most common lighting mistake in small rooms — one cool bulb in a warm room stands out immediately and makes the whole scheme look accidental. When you buy bulbs, check the Kelvin number on the box rather than trusting words like "warm" or "natural", which mean different things to different makers. Stay at 2700K in the sleeping corner; 3000K is fine at the desk, but do not go cooler than that.
Lighting Each Zone Without Building Walls (Sleep / Work / Living)
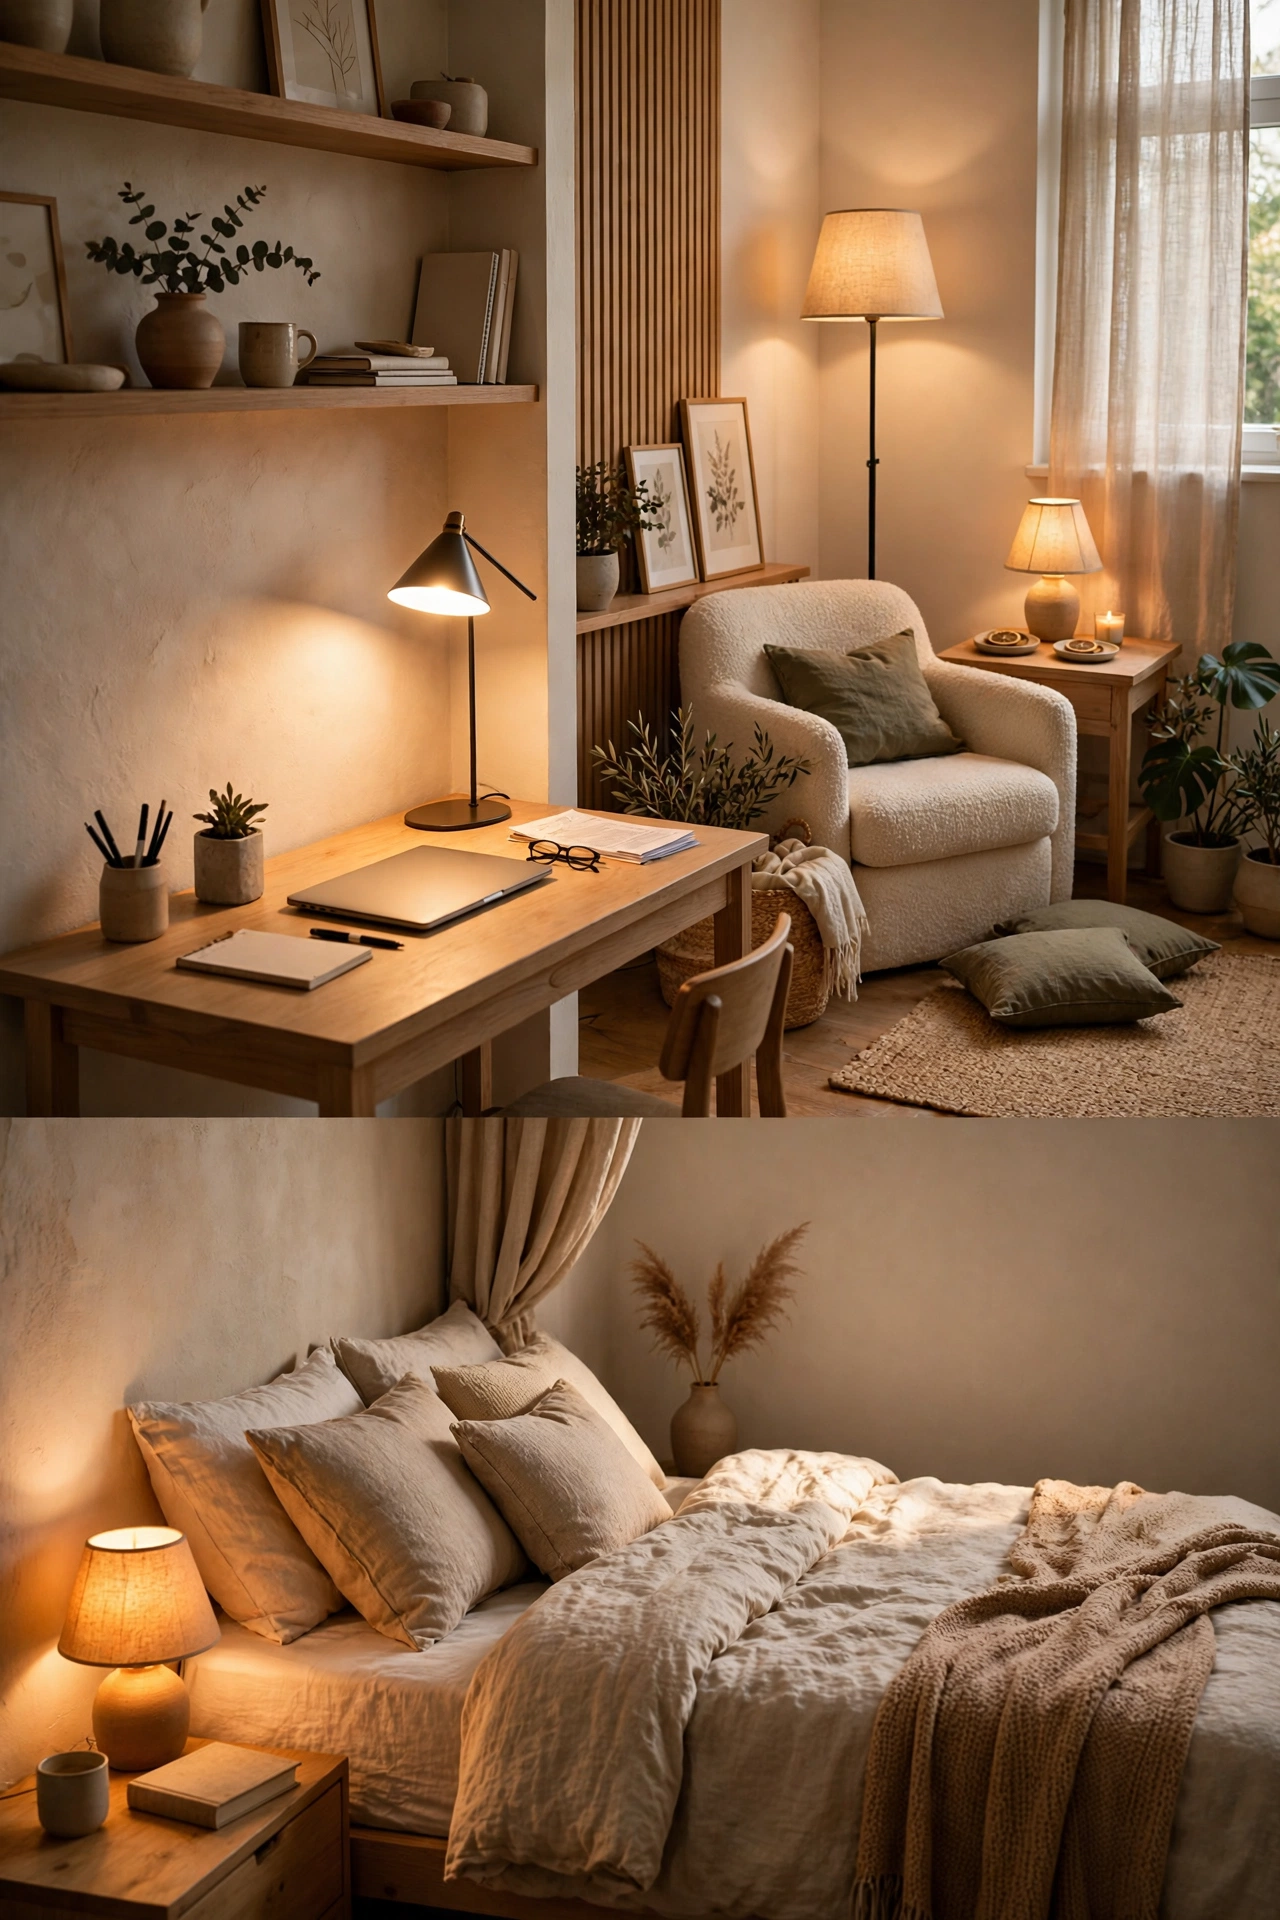
A studio has no walls between its zones, so light has to do the job walls normally do. Each zone needs its own combination of layers, and the change should be obvious as you walk across the room.
The sleep zone needs the softest light: one low, warm lamp on a bedside table, ideally on a dimmer. Avoid putting the overhead light over the bed, and make sure the lamp switches off from the bed itself, so you are not crossing a dark room at night. The goal is a corner that feels separate and calm, not simply darker than the rest.
The work zone needs the brightest, most focused light — brightness matters more than mood here, so give the desk its own lamp and keep it on while you work. Position it to avoid glare on the screen, and keep the rest of the room's light lower, so the desk feels like its own place.
The living zone sits between the two and needs two sources at different heights — a floor lamp and a table lamp, both dimmable. Two sources make the seating area feel like a room of its own, while one leaves it flat. When the work lamp goes off and the living lamps come on, the room changes purpose. How to Create a Bedroom Zone in a Studio Without Building a Wall
Renter-Friendly Options (No Drilling, Plug-In Fixtures)
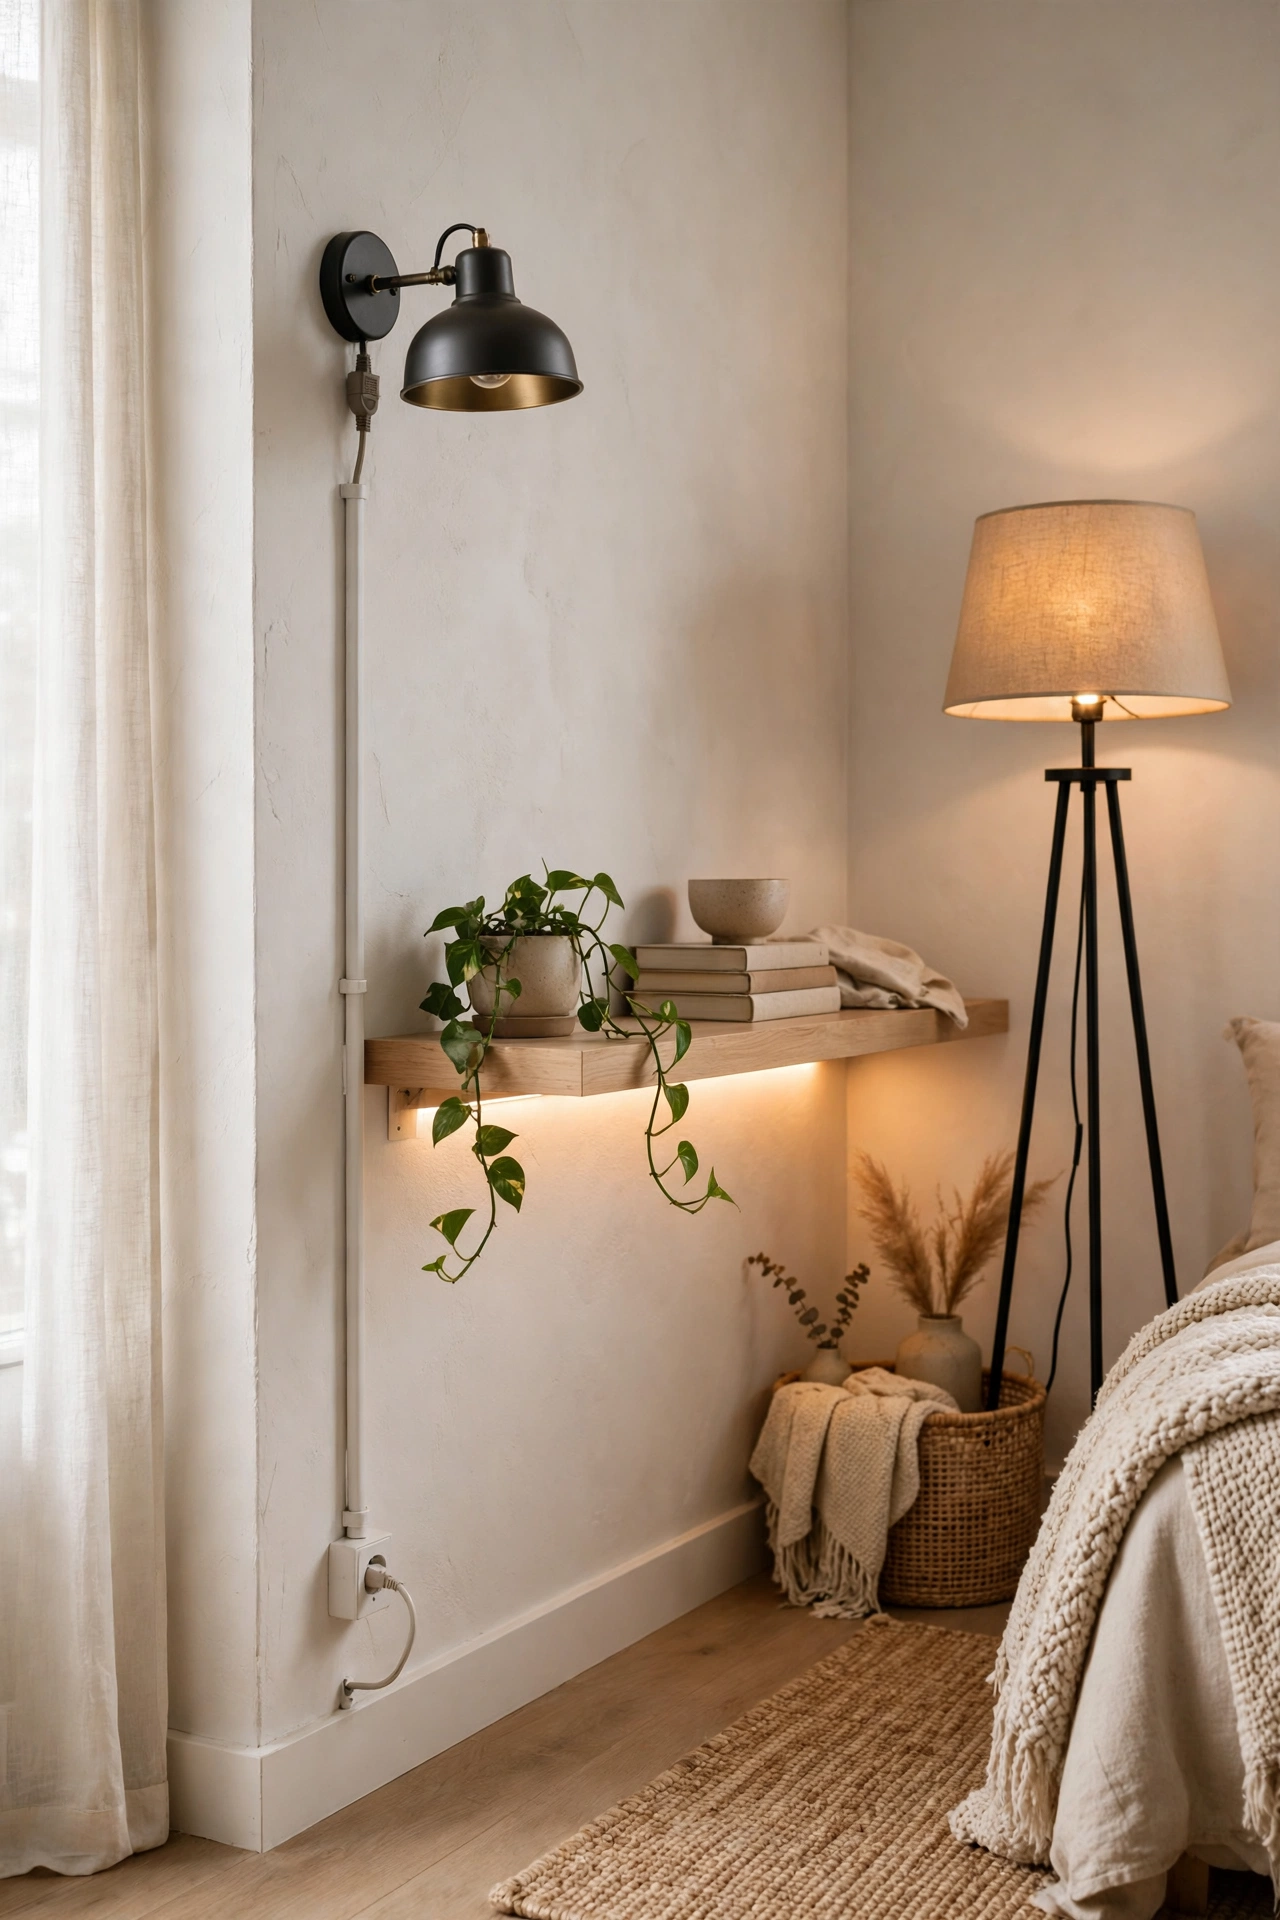
Renters cannot rewire a ceiling or drill into walls, but that does not mean living with one overhead light — almost every layer in this guide has a version that needs no drilling at all.
Plug-in wall sconces are the most useful renter option. They mount with adhesive hooks, plug into a normal outlet, and the cord hides behind a paintable cord cover that sticks to the wall. Floor lamps need no installation and can stand in for a missing ceiling light, while a pair of table lamps can carry a whole living zone.
Inside shelves and cupboards, battery puck lights stick on with adhesive and switch on with a tap — enough for a shelf that only needs a little glow. Adhesive LED strips work along the top of a bookshelf or under a kitchen cabinet, and the better ones peel off cleanly when you move out. Plug-in pendant kits hang from a ceiling hook and plug into a wall outlet, giving you a hanging light without touching the wiring.
Do not overload one outlet: use a power strip with surge protection and never chain one strip into another. Check the weight rating on any adhesive hook before hanging a fixture from it — heavy fixtures belong on the floor or a table. 15 Studio Apartment Layout Ideas with Beautiful Room Dividers
5 Mistakes That Make a Studio Look Smaller (and the Fix for Each)
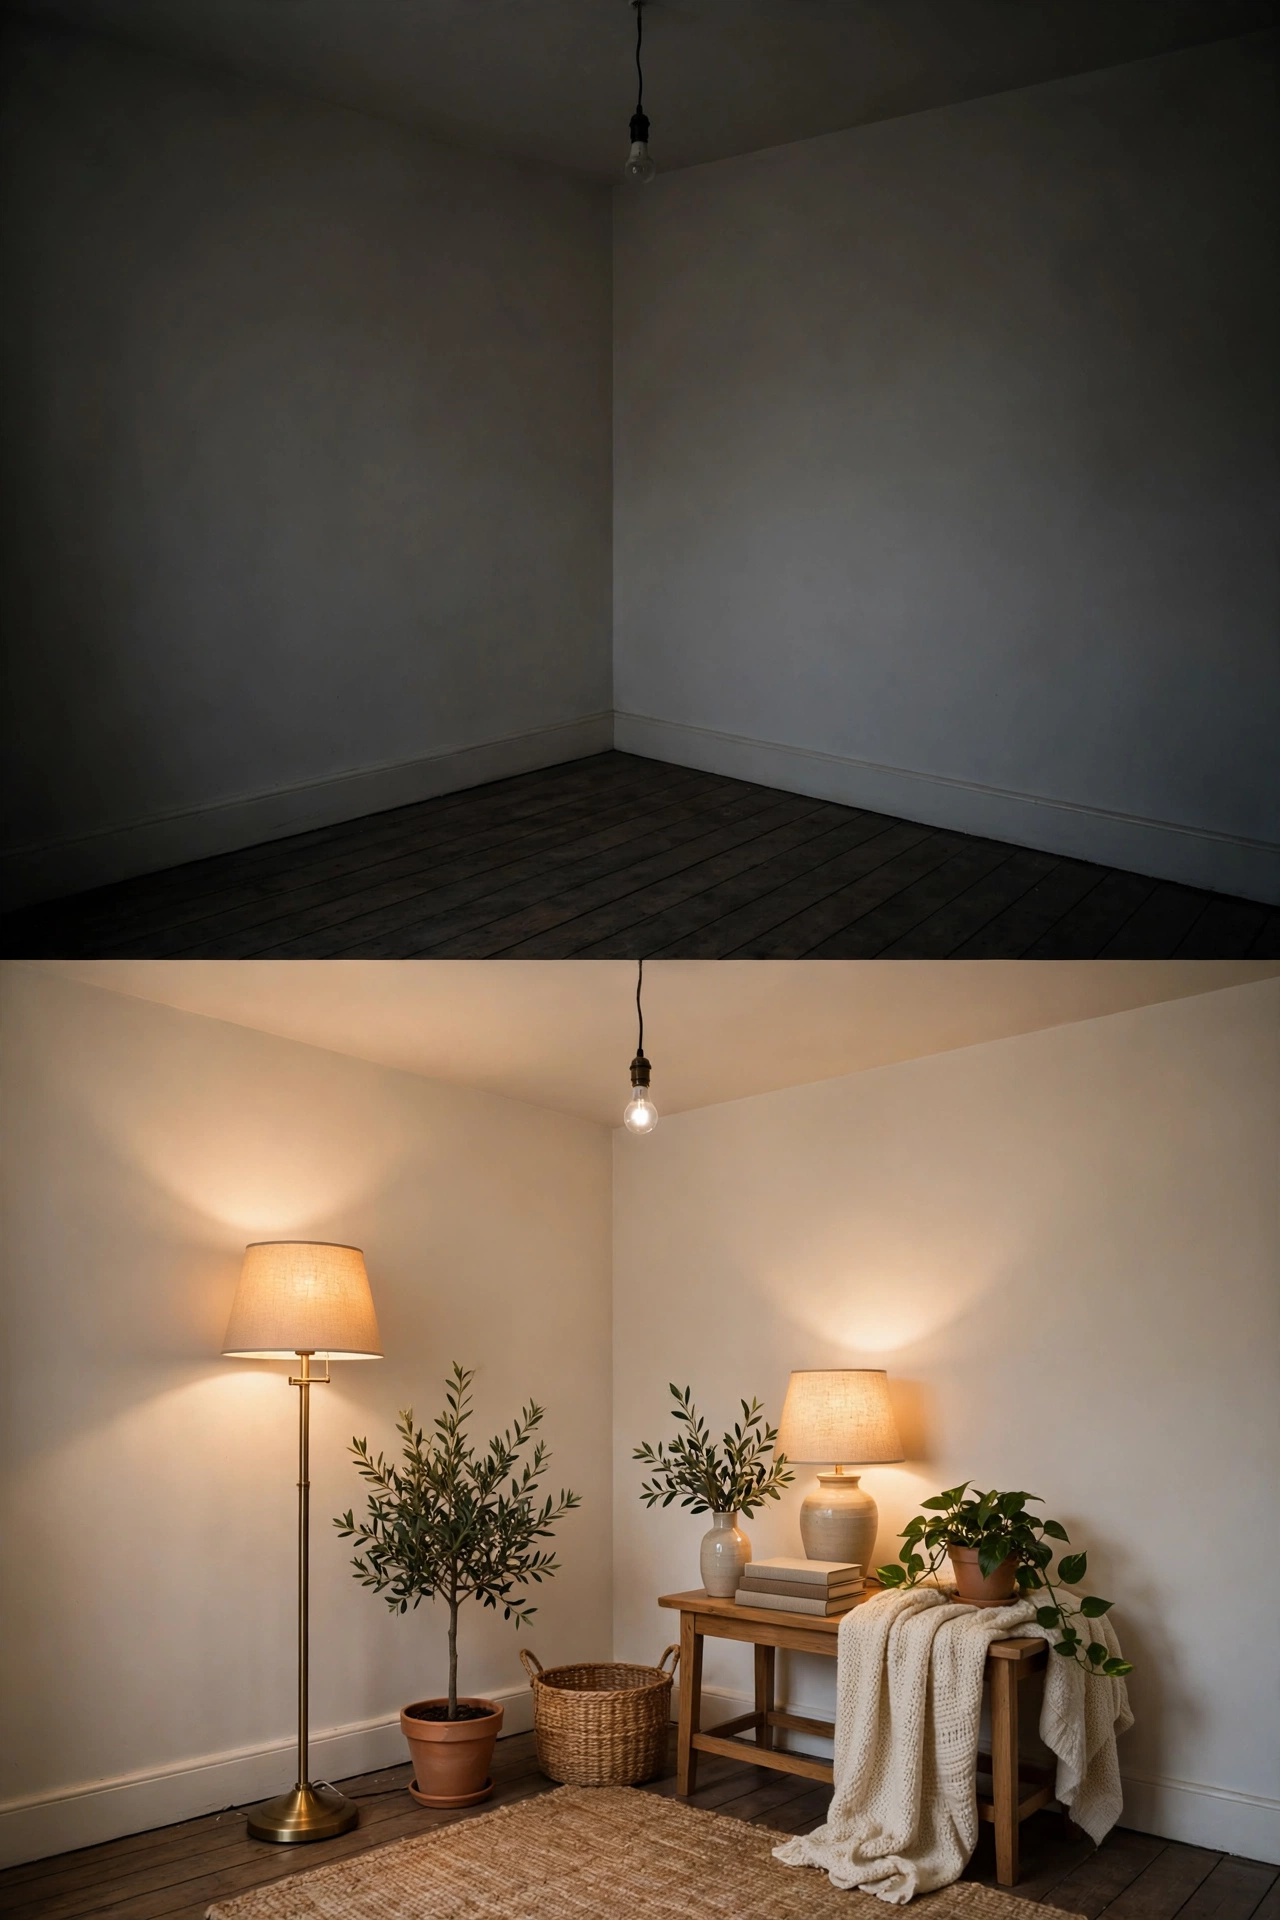
1. Relying on one overhead light. The room gets one flat pool of light in the middle and dark edges everywhere else. The fix: add a floor lamp in one corner and a table lamp in another, and the light reaches the walls.
2. Mixing warm and cool bulbs. One cool-white bulb among warm ones makes the whole room look unfinished. The fix: check every bulb and swap the odd ones so everything sits between 2700K and 3000K.
3. Letting tall furniture block the light. A tall shelf or wardrobe between the lamp and the rest of the room throws a huge shadow across the floor. The fix: move the lamp to the open side, or add a small uplight behind the furniture so the shadow disappears.
4. Bulbs that are too bright or too white. A small room does not need maximum brightness, and a very bright cool bulb makes white walls glare. The fix: a warm bulb with a lower output, plus a dimmer for the evening.
5. Leaving the corners dark. Empty dark corners shrink a room visually, because the eye stops at the edge of the light. The fix: one small light in the darkest corner — a floor lamp, an uplight, or a strip on a shelf — and the room gains what feels like an extra meter of space.
Quick answers
How many lights does a studio apartment need? Five to seven light sources across the three layers is right for most studios: one ceiling fixture, two or three lamps, one desk light, and one or two accent lights.
What color temperature is best for a studio? Between 2700K and 3000K, with every bulb the same. 2700K is warmer and suits the sleeping corner, while 3000K is a slightly crisper warm white for the desk. Anything cooler makes a small room feel like an office.
Can I skip the ceiling light entirely? Yes, if you have enough lamps to replace it. A tall floor lamp can carry the ambient layer, with a table lamp and a desk lamp covering the rest. The key is that ambient light comes from more than one direction.
Are LED strips a good idea in a studio? Yes, as accent light only. Use warm white strips, hide the strip itself so only the glow shows, and limit them to two or three spots, such as a shelf, the television wall, or a kitchen counter. Strips used as the main light look harsh and unfinished.
How do I light a studio with no overhead fixture at all? Start with one tall floor lamp for ambient light, near the center of the room. Add a table lamp in the living zone, a desk lamp for work, and one small accent light in the darkest corner. That covers all three layers without touching the ceiling.
Final thoughts
Good studio lighting is not about buying more lights — it is about giving each part of the room the light it needs at the height it needs it. Start with the three layers, keep every bulb warm and consistent, and fix the darkest corner first.

Hi, I'm Wasif — welcome to The Homes Decors. I write about home decor: the ideas, choices, and small details that make a space feel considered rather than accidental. If you've ever wondered why a room works, not just what's in it, you're in the right place.
3 thoughts on “Studio Apartment Lighting: How to Layer Light in One Room”